ssh整合的一个demo。
准备
spring4-required
struts2.3.15.3-blank
hibernate-release-4.2.4.Final
步骤
加入Spring
加入jar包
配置web.xml文件
在web.xml文件中 alt+ / 选择 ContextLoaderListener。
|
|
修改web.xml。
|
|
加入Spring的配置文件
new -> Source Folder新建一个源码包conf。
在conf源码包下新建applicationContext.xml配置文件。
加入Hibernate
1).同时建立持久化类,和其对应的 .hbm.xml文件,生成对应的数据表。
2).Spring整合Hibernate。
3).步骤:
①.加入jar包
加入hibernate-release-4.2.4.Final->lib->required文件夹下的全部8个jar包。
②.在类路径下加入hibernate.cfg.xml文件,在其中配置hibernate的基本属性。
新建hibernate.cfg.xml配置文件。
|
|
③.建立持久化类,和其对应的 .hbm.xml文件
在src下新建包com.leezp.ssh.entities。
在该包下新建Department.java。
|
|
在该包下新建Employee.java。
|
|
在该包下新建 Hibernate XML Mapping file(hbm.xml)。
Hibernate会帮助我们根据entities自动生成内容。
查看Employee.hbm.xml。
|
|
查看Department.hbm.xml。
|
|
修改Department.hbm.xml。
|
|
修改Employee.hbm.xml。
|
|
④.和Spring进行整合
i.加入c3p0和MySQL的驱动。
c3p0-0.9.1.2.jar
mysql-connector-java-5.1.22-bin.jar
ii.在Spring的配置文件中配置:数据源,SessionFactory。
在conf源码包下面新建db.properties属性文件。
|
|
修改Spring配置文件applicationContext.xml。
|
|
在mysql新建一个空的数据库ssh_demo。启动项目,会看到生成对应的数据表。
在数据库里向ssh_department表添加数据。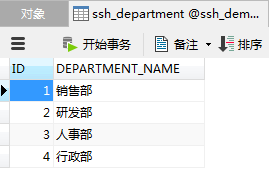
修改Spring配置文件applicationContext.xml配置声明式事务。
|
|
新建包com.leezp.ssh.service。
加入Struts2
加入jar包
asm-3.3.jar
asm-commons-3.3.jar
asm-tree-3.3.jar
commons-fileupload-1.3.jar
commons-io-2.0.1.jar
commons-lang3-3.1.jar
commons-logging-1.1.3.jar
freemarker-2.3.19.jar
javassist-3.11.0.GA.jar
log4j-1.2.17.jar
ognl-3.0.6.jar
struts2-core-2.3.15.3.jar
xwork-core-2.3.15.3.jar
若有重复的jar包,则需要删除版本较低的。javassist-3.11.0.GA.jar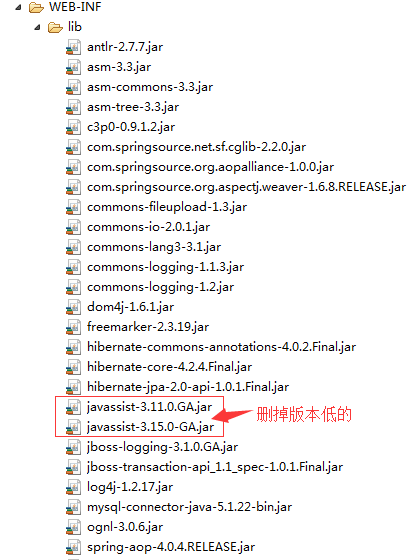
在web.xml文件中配置Struts2的Filter
复制struts2官方示例web.xml中的如下代码到项目的web.xml文件中。
加入Struts2的配置文件
复制struts2官方配置文件struts.xml到conf源码包下。
修改struts.xml。
|
|
Struts2整合Spring
①.加入Struts2的Spring插件的jar包。
struts2-spring-plugin-2.3.15.3.jar
②.在Spring的配置文件中正常配置Action,注意Action的scope为prototype。
在conf源码包下新建applicationContext-beans.xml配置文件。
|
|
在src下新建包com.leezp.ssh.actions。
在该包下新建EmployeeAction.java。
|
|
修改applicationContext-beans.xml配置文件。
|
|
③.在Struts2的配置文件中配置Action时,class属性指向该Action在IOC中的id。
修改struts.xml配置文件。
|
|
向数据库中的表ssh_employee添加两条用于测试的数据。
新建一个web页面index.jsp。
|
|
修改前面建好的EmployeeAction.java。为它添加与index.jsp里”emp-list”对应的list()方法。
|
|
添加包com.leezp.ssh.dao。在该包下新建EmployeeDao.java。
|
|
在包com.leezp.ssh.service下新建EmployeeService.java。
|
|
修改EmployeeAction.java。
|
|
在applicationContext.xml中配置bean。
|
|
修改web.xml中的<param-value>标签为<param-value>classpath:applicationContext*.xml</param-value>。
|
|
修改struts.xml配置文件,添加一个结果集的返回页面emp-list.jsp。
|
|
在WEB-INF目录下新建views文件夹。
配置Eclipse中新建的web页面的默认编码:
Window->Preferences->输入encoding,选择JSP Files,在右侧的Encoding下拉框选择UTF-8,点击保存。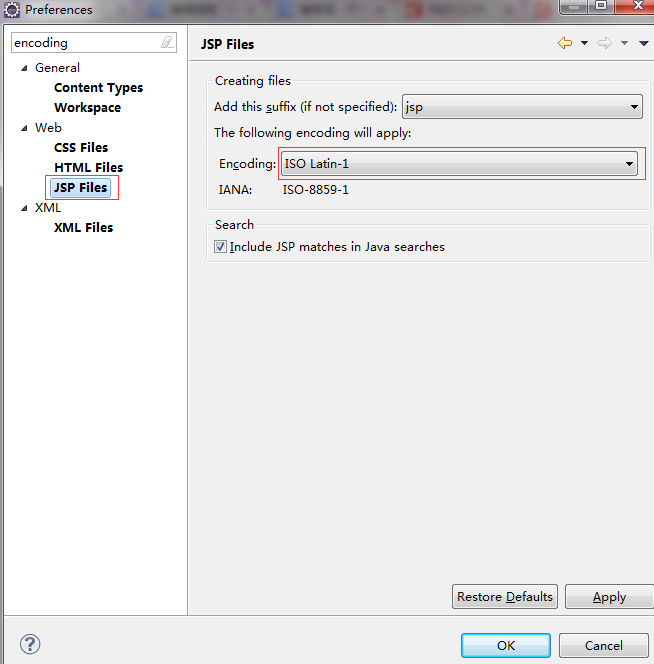
在views文件夹下新建web页面emp-list.jsp,这时看到它的默认编码已经变成了UTF-8。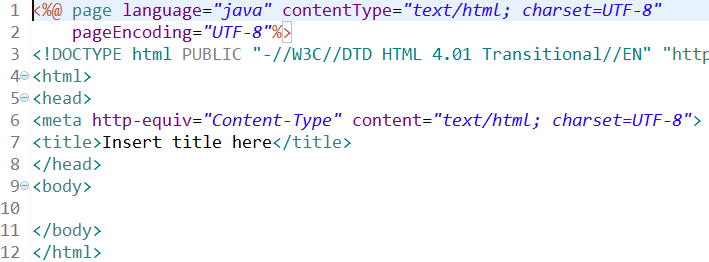
在emp-list.jsp中导入struts2的标签<%@ taglib prefix=”s” uri=”/struts-tags”%>并和前台页面显示绑定。
|
|
开启服务器运行项目。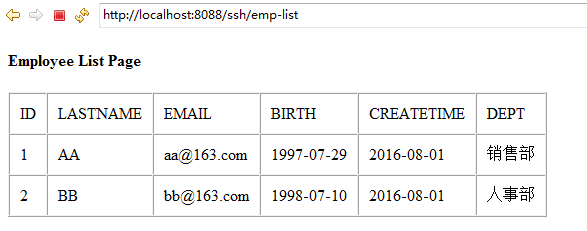
业务需求
获取所有的员工信息
若在Dao中只查询Employee的信息,而且Employee和Department还是使用的懒加载,页面上如果需要显示员工信息,此时会出现懒加载异常,代理对象不能被初始化org.hibernate.LazyInitializationException: could not initialize proxy - no Session。
eg:
EmployeeDao.java没有查询department。
同时修改Employee.hbm.xml文件禁止懒加载。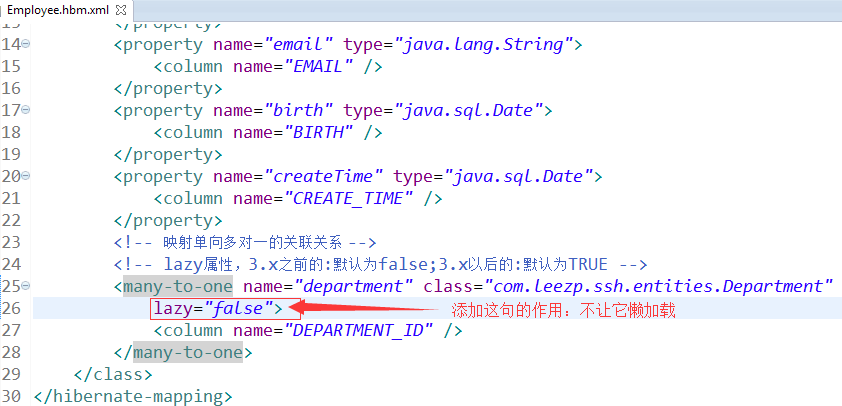
解决方法:
①.关闭懒加载 lazy=”false”,不推荐使用,因为查询了很多不需要的数据,影响性能。获取源代码
②.获取Employee时使用迫切左外连接同时初始化其关联的Department对象。
③.使用OpenSessionInViewFilter:页面加载时开启Session,页面加载完关Session,见文末参考文献《懒加载异常的解决办法》。
删除员工信息
在emp-list.jsp页面里添加“删除”功能的超链接。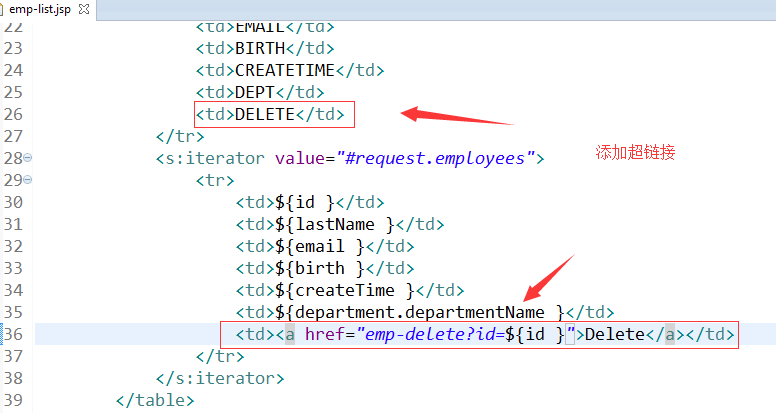
在EmployeeAction.java里添加id属性和delete方法。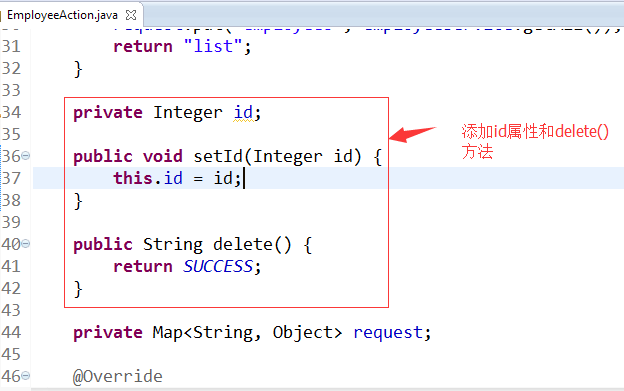
在EmployeeDao.java里添加delete()方法的数据库操作语句。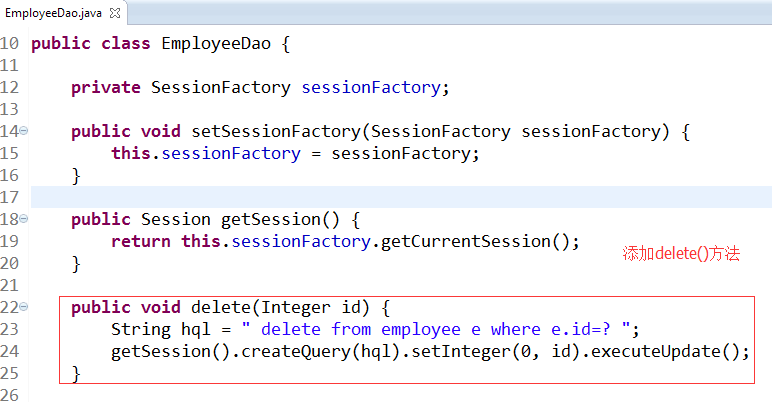
在业务层EmployeeService.java里添加调用employeeDao。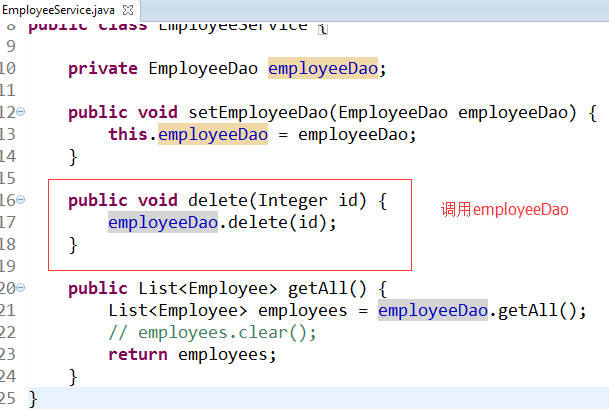
修改EmployeeAction.java。
|
|
这时候要在struts.xml里配置返回的数据如何绑定web页面。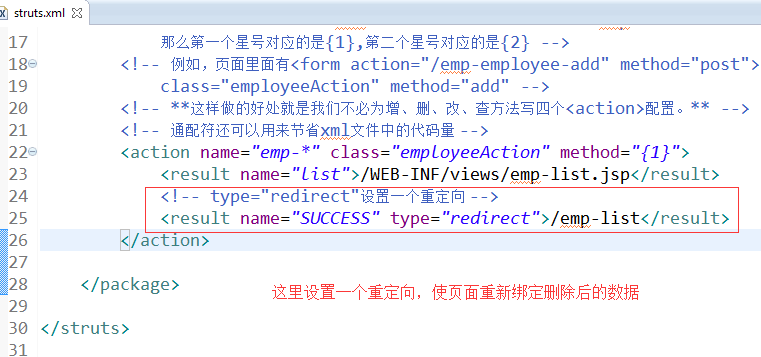
注意:name后参数应该小写,应该改成如下图。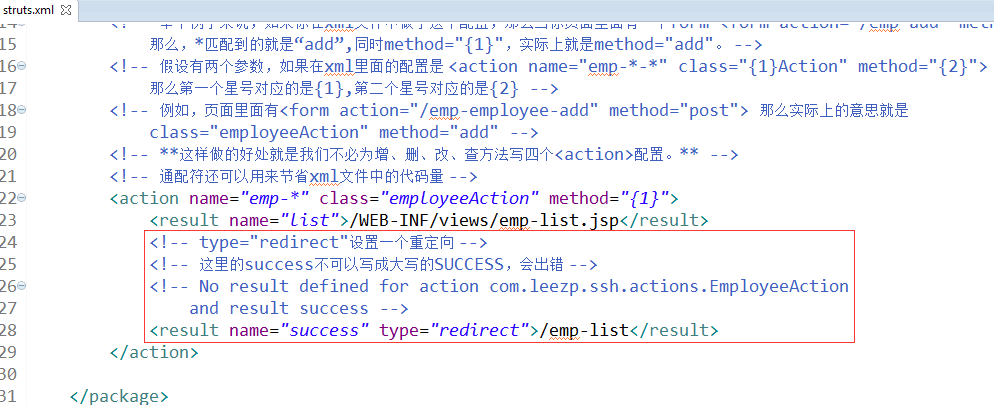
启动服务器运行项目。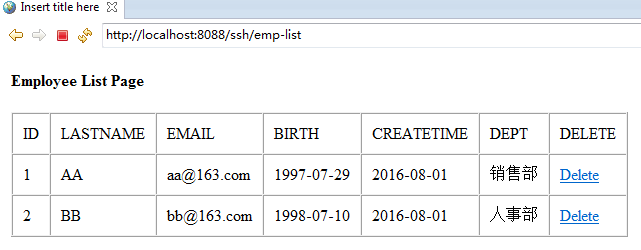
点击“删除”超链接可以删除一行数据。
删除时弹出“确定删除吗?”提示信息并使用ajax异步删除
在WebContent文件夹下新建文件夹scripts。将jquery-1.9.1.min.js添加到scripts文件夹下。
修改emp-list.jsp。
|
|
修改EmployeeAction.java。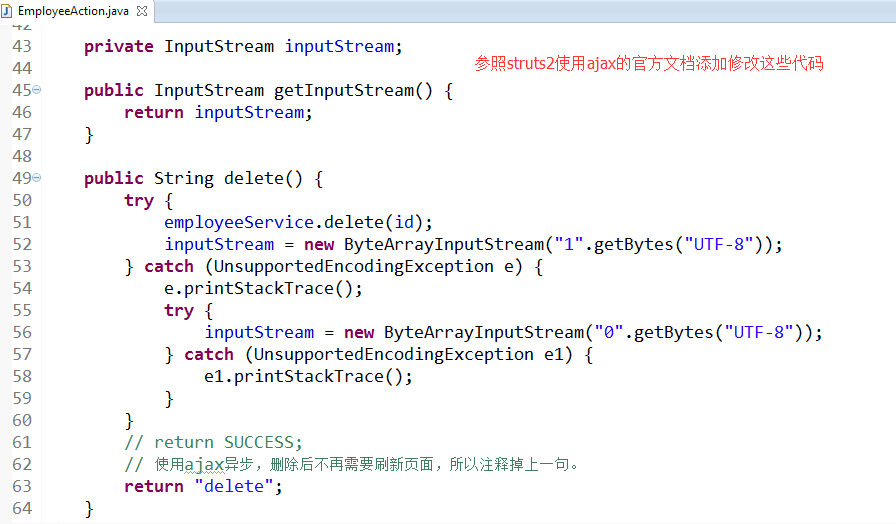
修改struts.xml配置文件。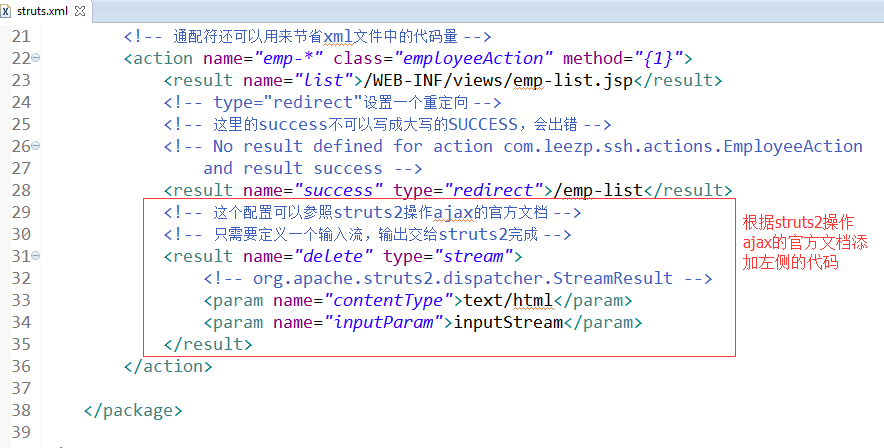
建立添加员工页面并绑定部门信息下拉框
①.显示表单页面:需要先查询所有的部门信息
②.使用Struts2的ModelDriven和Preparable拦截器
③.时间是一个字符串,需要转为一个Date类型的对象
在index.jsp添加一个新增员工的链接。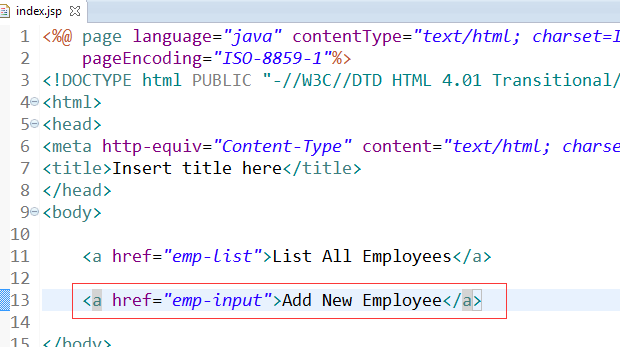
向EmployeeAction.java类中新增一个input()方法。
|
|
在com.leezp.ssh.dao包下面新建一个Dao,DepartmentDao.java。
因为EmployeeDao.java和DepartmentDao.java都需要使用相同的代码操作SessionFactory,所以这里将处理SessionFactory的代码提取出来。
|
|
再com.leezp.ssh.dao包下新建一个BaseDao.java。
|
|
使EmployeeDao.java继承BaseDao.java。
|
|
修改DepartmentDao.java。
|
|
在com.leezp.ssh.service包下新建DepartmentService.java。
|
|
在IOC容器里配置刚才添加的bean,在applicationContext-beans.xml配置文件里配置bean添加如下图所示代码。
修改EmployeeAction.java里调用DepartmentService。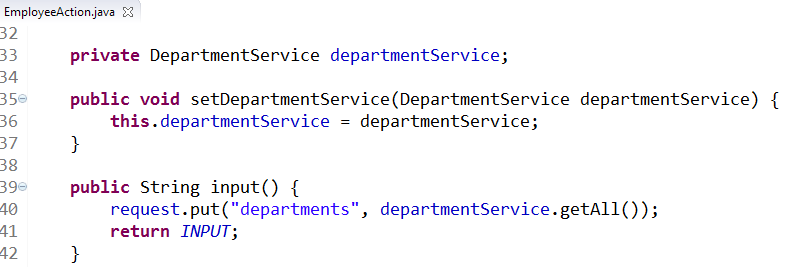
修改struts.xml配置文件添加如下图所示代码。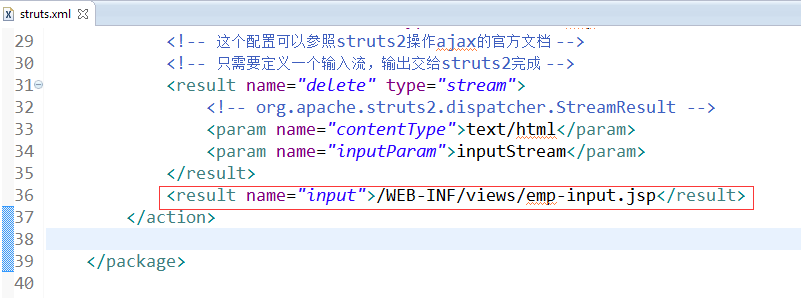
在views文件夹下新建emp-input.jsp。
|
|
添加员工
首先在EmployeeAction.java里面实现ModelDriven和Preparable接口。
|
|
修改struts.xml配置拦截器。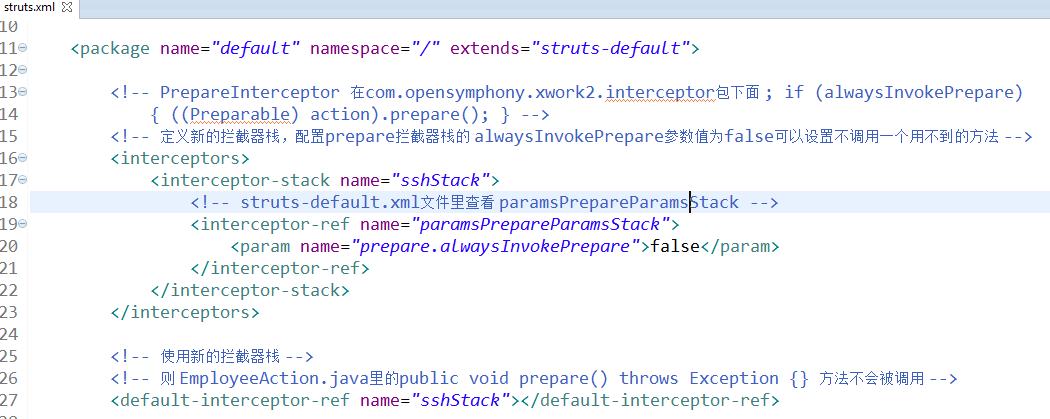
因为表单提交和回显涉及到要把String日期和Date相互转换,所以在src下新建包com.leezp.ssh.converters。在该包下新建SSHDateConverter.java转换类。
|
|
在conf源码包下新建xwork-conversion.properties属性文件配置日期转换类。
|
|
配置自定义的类型转换器的两种方法:
在应用程序里使用一个自定义的类型转换器之前,必须先对它进行配置,这种配置既可以基于字段,也可以基于类型。
1.基于字段配置:可以为某个Model(该Model类也可能是Action)的各个属性分别配置一个自定义的转换器。
①.创建一个属性文件:ModelClassName-conversion.properties,该文件需和相对应的Model类放在同一个目录下。
②.编辑属性文件:
field1=customConverter1
field2=customConverter2
…
2.基于类型配置
①.在WEB-INF/classes/目录下创建xwork-conversion.properties文件。
②.在xwork-conversion.properties文件里把每一个需要进行类型转换的类与一个类型转换器关联起来。
fullyQualifiedClassName=CustomConvertor1
修改EmployeeDao.java添加保存的方法。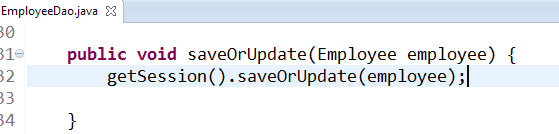
修改EmployeeService.java添加保存的方法。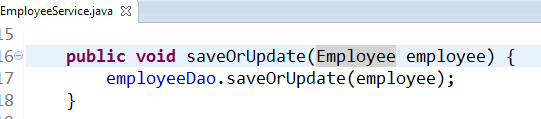
添加员工的流程
访问index.jsp,点击添加员工的超链接<a href=”emp-input”>Add New Employee</a>,经过struts.xml配置文件解析,
|
|
进入EmployeeAction.java的input()方法处理页面请求,
|
|
获取department的list返回到 emp-input.jsp从而绑定下拉框。
|
|
把crud方法放在一个action类中,就必定会涉及到一些数据准备的事情,所以用Preparable接口就再合适不过了,实现这个接口的prepare()方法,这个方法会在action类的所有方法执行前执行,另外我们也可以按照它的规则来写一些其它形式的prepare方法,例如aciton中有一个方法叫input(),那么我们可以实现一个prepareInput方法,这样在input()执行前,会执行prepareInput()方法。
保存操作的流程(ModelDriven和Preparable 拦截器):
prepareSave()->getModel()将上一步创建的值放到栈顶->由Preparable拦截器将表单的值赋给栈顶对象对应的属性 -> Save()
可以在struts-default.xml中查看拦截器执行顺序,
prepare->modelDriven->params(表单参数值赋给栈顶对象对应的属性)->setParameters ->prepareX()
ajax检验添加时的用户名是否可用
修改emp-input.jsp。
|
|
在EmployeeDao.java添加查询用户名重复的方法。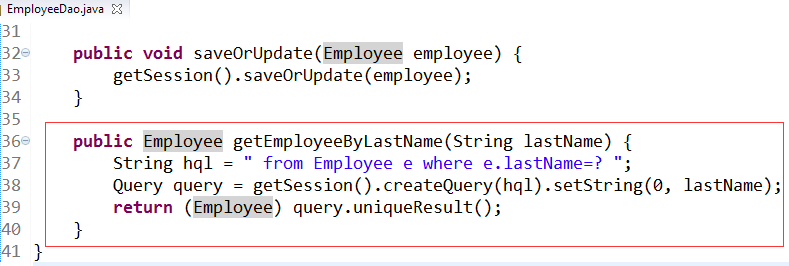
在EmployeeService.java添加调用它的方法。
修改EmployeeAction.java。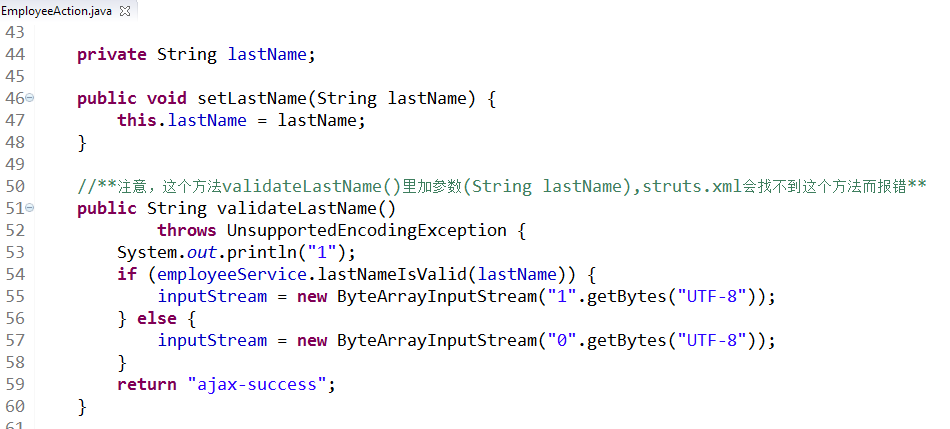
修改struts.xml。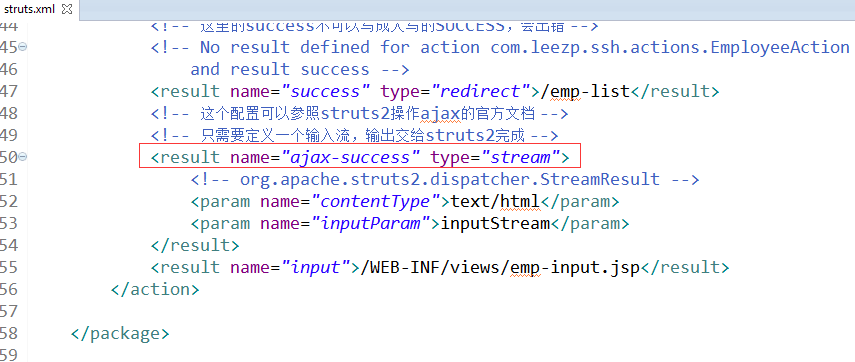
员工信息的修改
修改input.jsp页面,添加了修改链接等。
|
|
在EmployeeDao.java里添加获取员工信息的get()方法。
修改EmployeeService.java。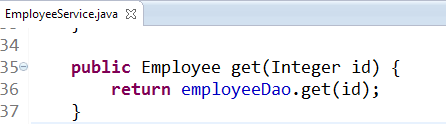
修改EmployeeAction.java。
|
|
总结
因本人水平有限,本demo还有很多不足之处,还望各位批评指正。
参考文献
JavaBean中DAO设计模式介绍
Hibernate高级查询方法
Hibernate学习笔记-懒加载Lazy-true
JQuery this和$(this)的区别及获取$(this)子元素对象的方法
Preparable接口和自定义拦截器总结
Java过滤器与SpringMVC拦截器之间的关系与区别
ModelDriven拦截器、Preparable 拦截器
关于struts2/webwork中prepare接口中的二次绑定
hibernate——Session接口中定义的saveOrUpdate()方法浅析
Hibernate之Query接口的uniqueResult()方法
懒加载异常的解决办法
版权声明:本文为博主原创文章,转载请注明出处 Leezp’s Blog